


Install with
Confidence.
A step-by-step guide to installing the DAX-AQ Flow-IQ 1120 concealed cistern — engineered for precision, designed for longevity.

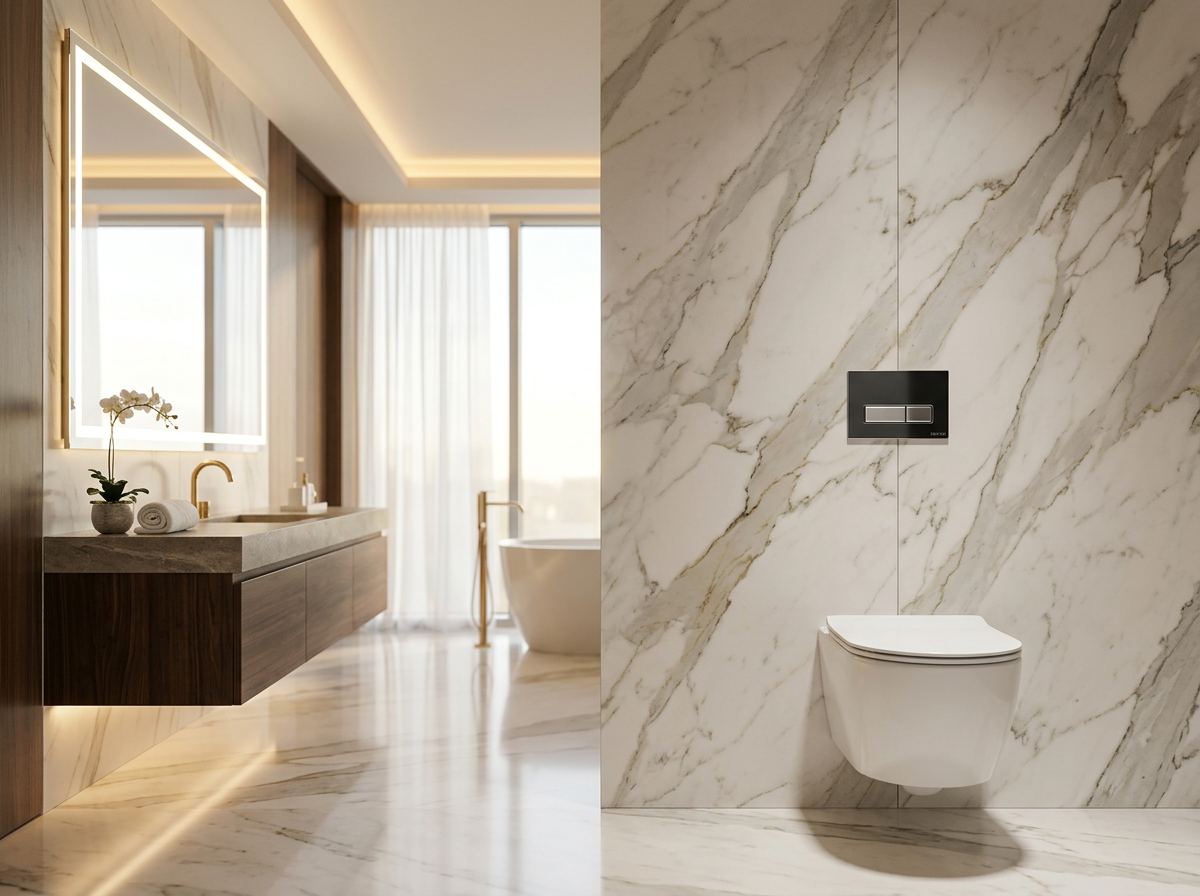
Flow-IQ 1120
Precision Behind the Wall
Certified
ISO 9001 · EN 14055
What You Need
Tools Required
What's in the Box
Dual-Flush Valve Mechanism
Pre-adjusted to 3L / 6L
Powder-Coated Steel Frame
Adjustable 820–1000 mm
HDPE Cistern Tank
High-density polyethylene
Inlet Fill Valve Assembly
Side or bottom entry
Wall & Floor Fixing Kit
M10 stainless steel
WC Connection Pipe Set
Including seals & gaskets
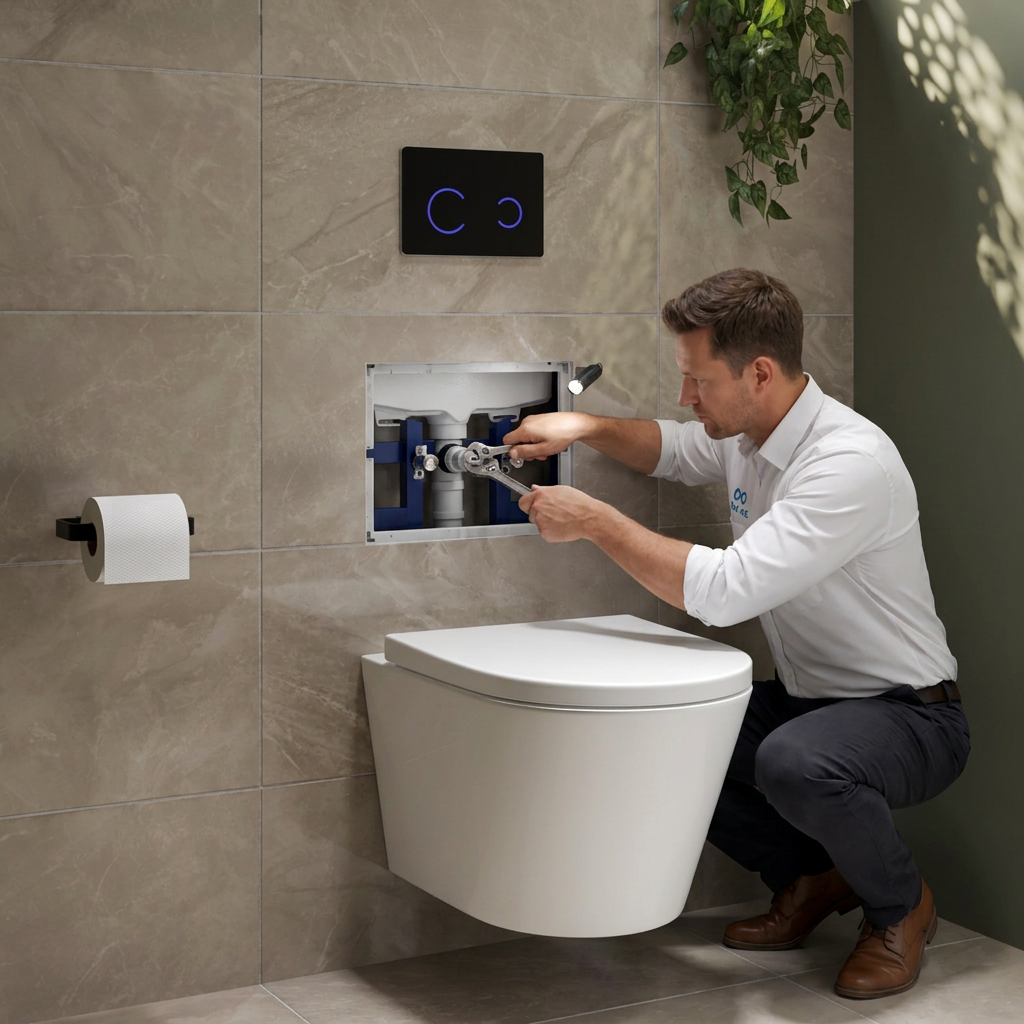
Read all steps in full before starting. Water connections must be made by a licensed plumber in the UAE.
Installation Process
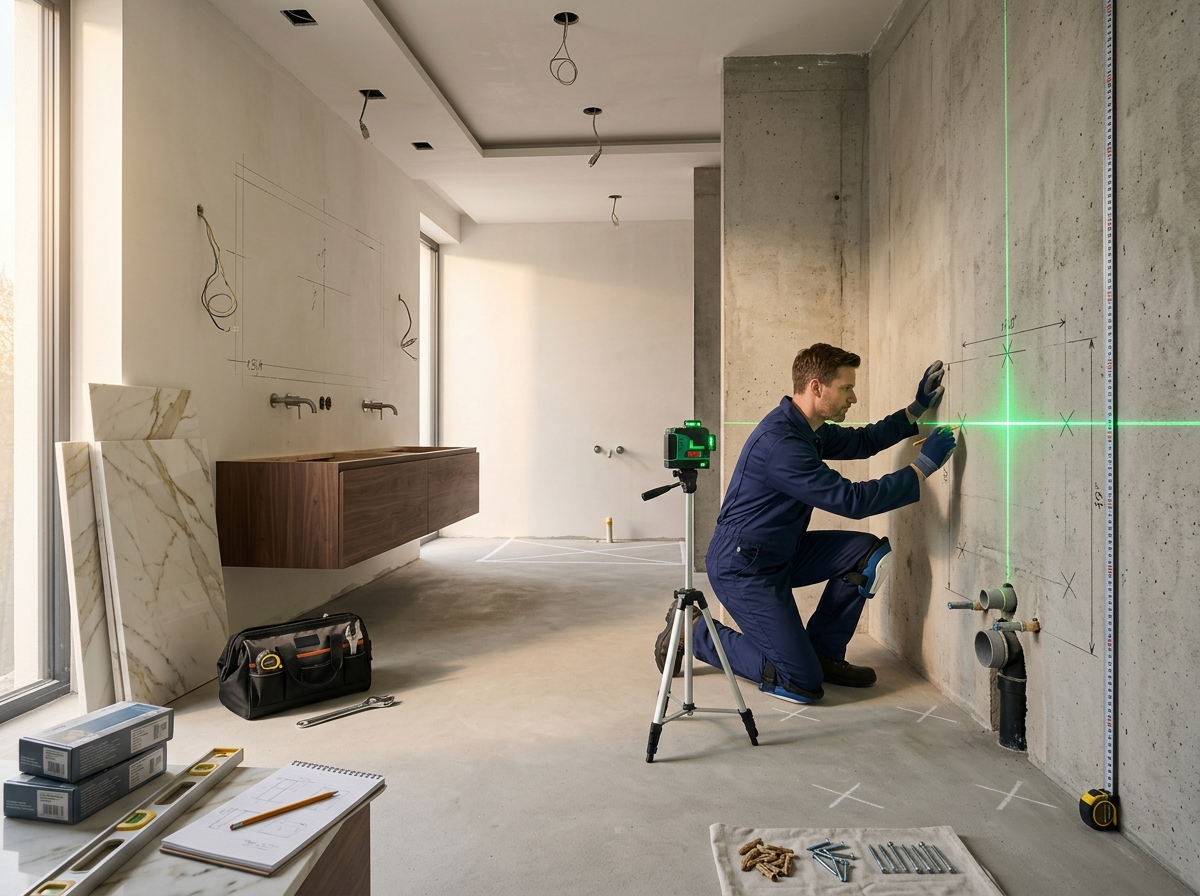
Survey & Prepare
Set yourself up for a flawless installation.
- Confirm wall type — drywall (stud frame) or solid masonry. Each requires a different fixing approach.
- Mark the waste pipe centreline on the floor. Standard offset is 180 mm from the finished wall face.
- Mark the cold water supply entry point — bottom or side of the cistern frame.
- Confirm minimum floor-to-ceiling clearance of 1000 mm for correct frame height.
Use a laser level when marking — a 2 mm error at this stage can result in a misaligned flush plate after tiling.
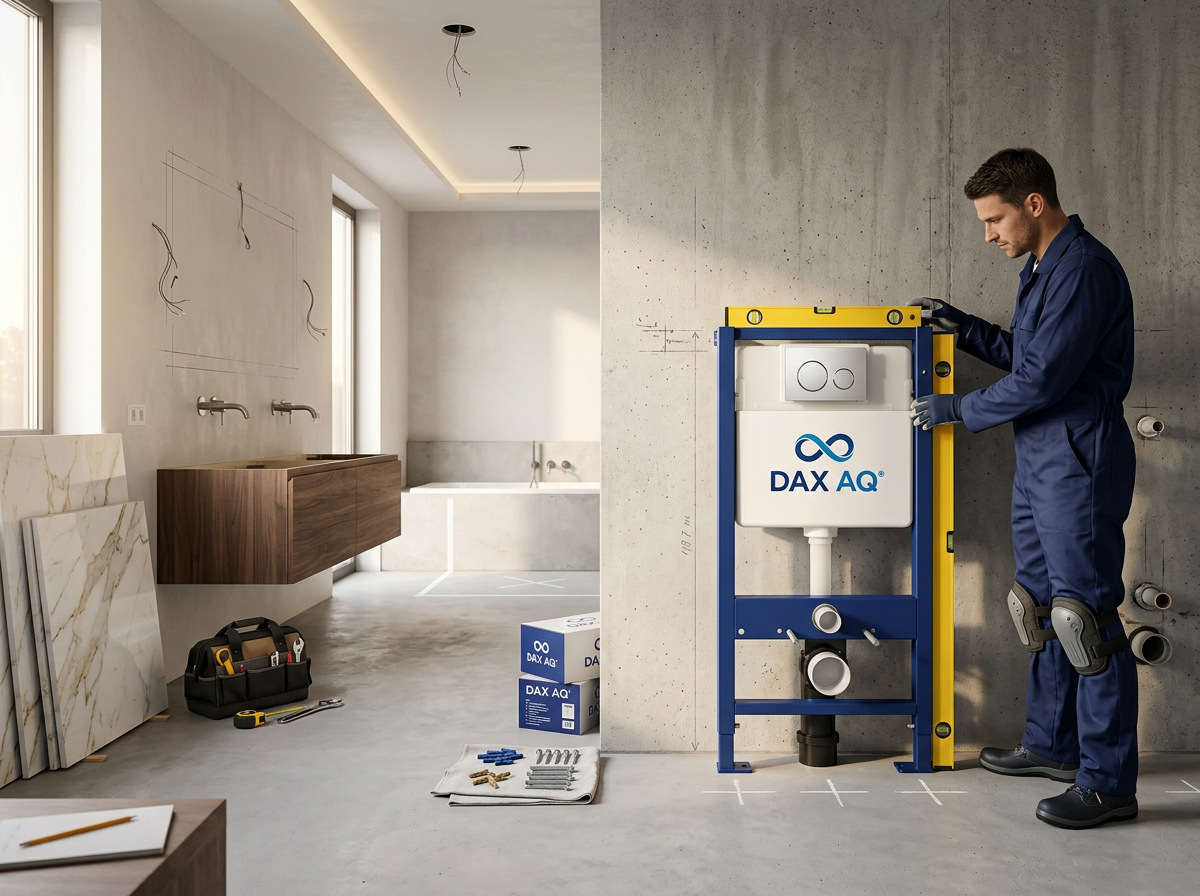
Position & Level the Frame
Precision levelling is the foundation of everything.
- Lift the DAX-AQ steel frame into position against the wall, aligning the waste outlet with your marked centreline.
- Adjust the telescopic height legs — range is 820 mm to 1000 mm — to set the finished toilet seat height.
- Check plumb on both vertical axes with a spirit level. Tolerance: ±1 mm.
- Mark all four floor fixing points and the top wall bracket position through the frame.
Set frame height to 1000 mm (top of frame from floor) for a seat height of ~400 mm — the most ergonomic position for most users.
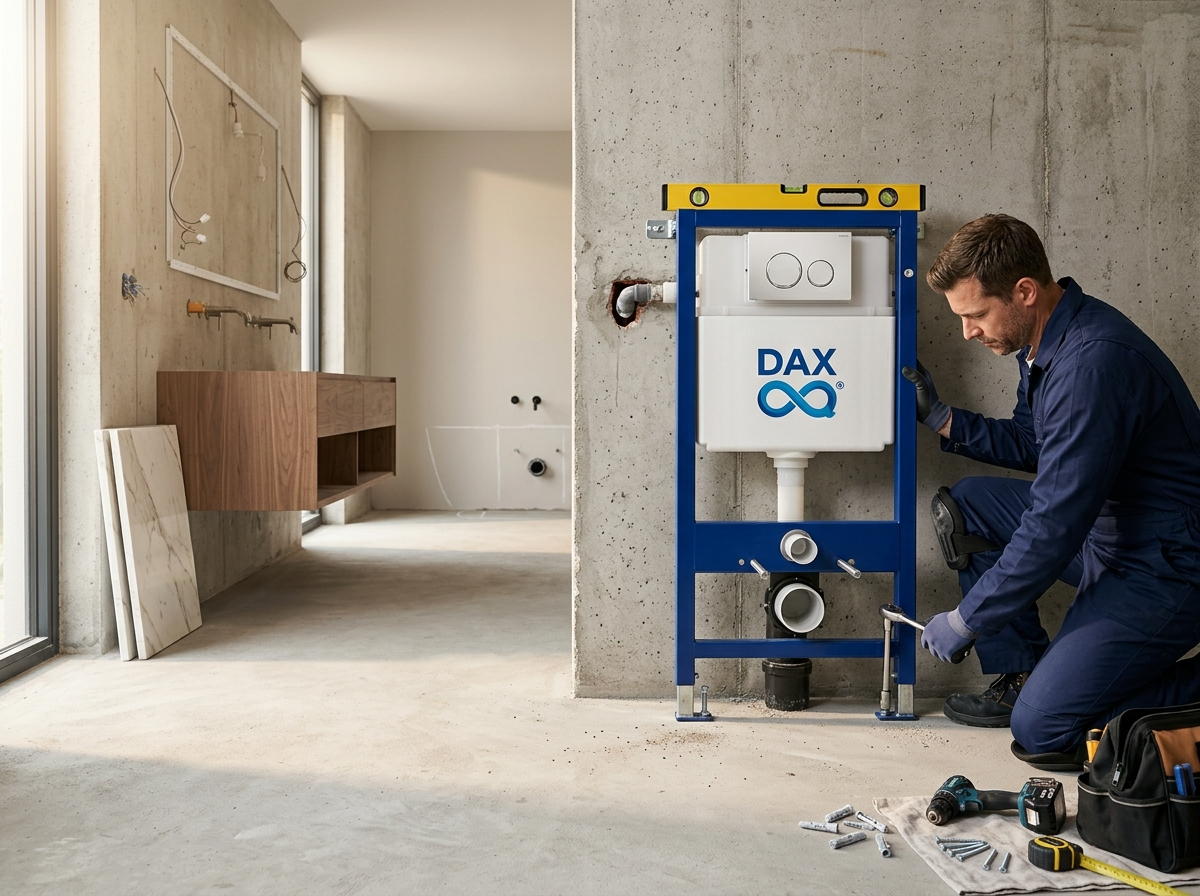
Fix & Secure the Frame
A fixed frame is a lifetime frame.
- Drill floor holes at all four marked points to 10 mm depth and insert the supplied rawl plugs.
- Bolt the frame legs to the floor using the included M10 stainless steel screws.
- Fix the top wall stabiliser bracket — this prevents any forward lean under full toilet load.
- Re-check level on both axes after tightening — frames can shift slightly during final fixing.
The DAX-AQ frame is rated for 400 kg+. Torque all bolts to the spec in the manual — never substitute with undersized fixings.
Connect Water Supply
A watertight connection, first time.
- Feed the 15 mm cold water supply pipe to the fill valve inlet on the cistern (bottom or side entry).
- Apply PTFE thread seal tape — minimum 3 full turns — on all threaded connections before assembly.
- Hand-tighten first, then finish with a wrench: ¼ turn past hand-tight only.
- Turn the water on slowly and inspect every joint for drips. Do not proceed with any leak present.
- Set the fill valve to the marked water level inside the cistern (3 L / 6 L pre-set line).
Use only push-fit or threaded connections on the cistern inlet — never compression fittings. Refer to manual Section 4 for approved fitting types.

Build the False Wall
Conceal the system cleanly.
- Frame out the drywall or tile board around the cistern frame, leaving the actuator plate opening precisely clear.
- Position the actuator opening centred horizontally and at the height specified in the manual — typically 1000 mm from floor.
- Complete all tiling and finishing work. Ensure the actuator opening remains square, clean, and exactly sized.
- Allow all adhesive, grout, and cement to fully cure before proceeding to Step 6.
Leave 10 mm clearance around the actuator frame opening for the bezel surround — too tight and the flush plate will bind and crack.
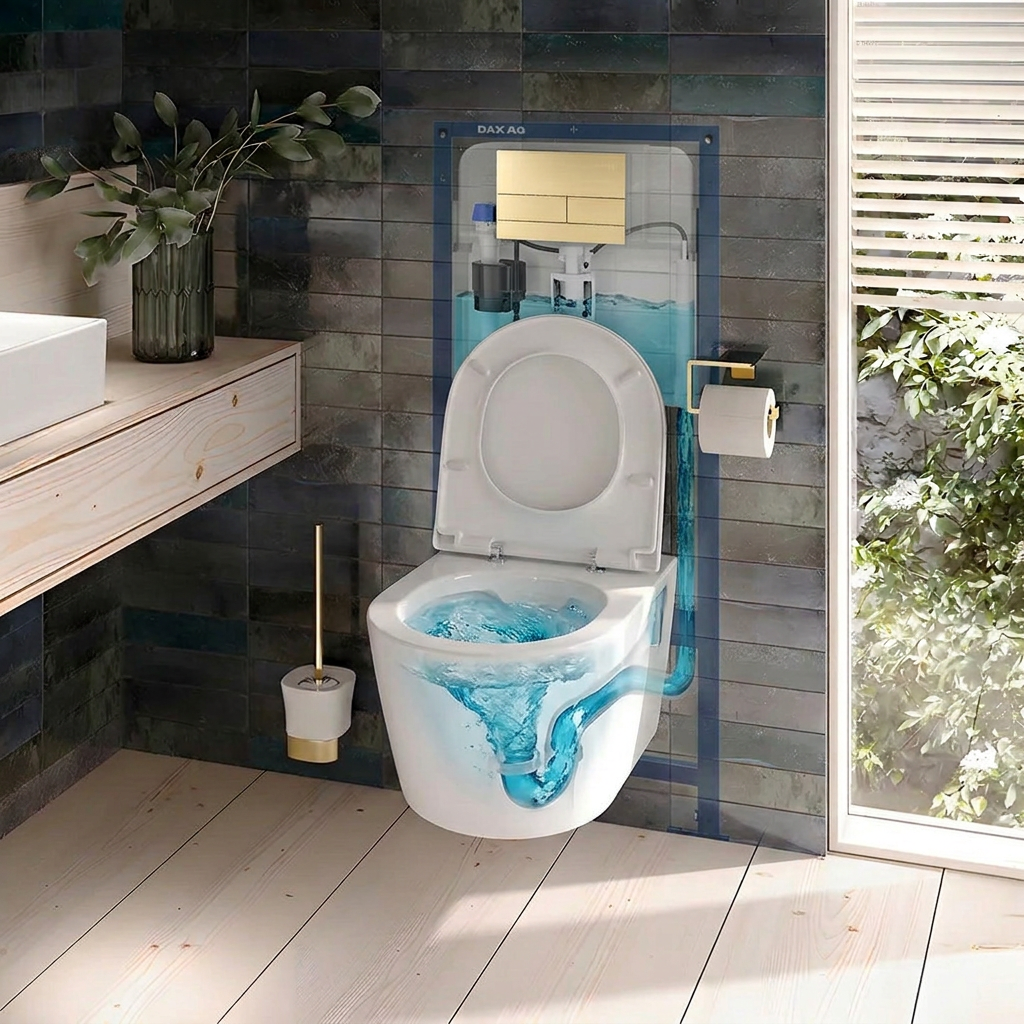
Install Pan, Flush Plate & Commission
The satisfying final step.
- Hang the wall-hung WC pan on the two pan carrier bolts — do not fully tighten yet.
- Connect the waste outlet spigot to the soil pipe. Check the fall angle — minimum 1:40 gradient.
- Apply a neat silicone bead around the pan base where it meets the tile. Smooth and leave to cure.
- Insert the actuator plate frame into the wall opening and connect the flush rods to the cistern valves.
- Clip the DAX-AQ Halo or Slate flush plate into the actuator frame.
- Test both flush modes — 3 L (small button) and 6 L (large button). Check all connections for leaks.
Adjust flush volume via the screw on the fill valve before sealing. A 3 L flush should complete in under 3 seconds at normal supply pressure.
Installation Complete
Register your warranty at daxaq.com within 30 days of installation.
Common Mistakes
Skipping the Level Check
Assuming the wall or floor is true — it rarely is.
Always verify level on both axes after each fixing step, not just at the beginning.
Testing After Tiling
Running water connections for the first time after the wall is fully tiled.
Do a full leak test immediately after Step 4, before any boarding or tiling work begins.
Over-tightening Plastic Fittings
Forcing threaded plastic fittings beyond hand-tight with a wrench.
Hand-tight plus ¼ turn only. Over-torquing cracks the fill valve housing — a costly fix behind a tiled wall.
Frequently Asked
Yes. The Flow-IQ 1120 frame is engineered for both drywall (stud/timber frame) and solid masonry walls. Drywall installations use the supplied top-wall bracket fixed to the studs. Solid wall installations use rawl plug fixings directly into the masonry.
The Frame requires a minimum cavity depth of 120 mm between the finished wall face and the back wall. This accommodates the cistern, frame, and all connecting pipework.
Yes. The DAX-AQ system features a side service access port that allows the flush valve and fill valve to be accessed and adjusted without breaking any tiles. The actuator plate can also be removed without tools for front access.
A competent installer typically completes the frame, water connection, and pan in 2–3 hours. Wall boarding and tiling time depends on the project scope and is separate from the cistern installation itself.
In the UAE, all cold water supply connections must be made or approved by a licensed plumber. The steel frame positioning, levelling, and pan hanging can be performed by a qualified fitter or competent DIY installer.
The DAX-AQ manufacturer warranty covers defects in materials and workmanship under normal use. It does not cover damage resulting from improper installation, use of non-approved fittings, or failure to follow the installation manual.
Need More Help?
Technical Brochure
Full installation drawings, dimensions, technical specifications, and parts diagrams in PDF format.
Download PDF ManualTechnical Support
Speak directly with a DAX-AQ installation specialist. Available Sunday–Thursday, 8 am–5 pm UAE time.
Contact SupportBacked by the DAX-AQ manufacturer warranty · Engineered in Germany · Built in the UAE